by Christy Solo – Editor
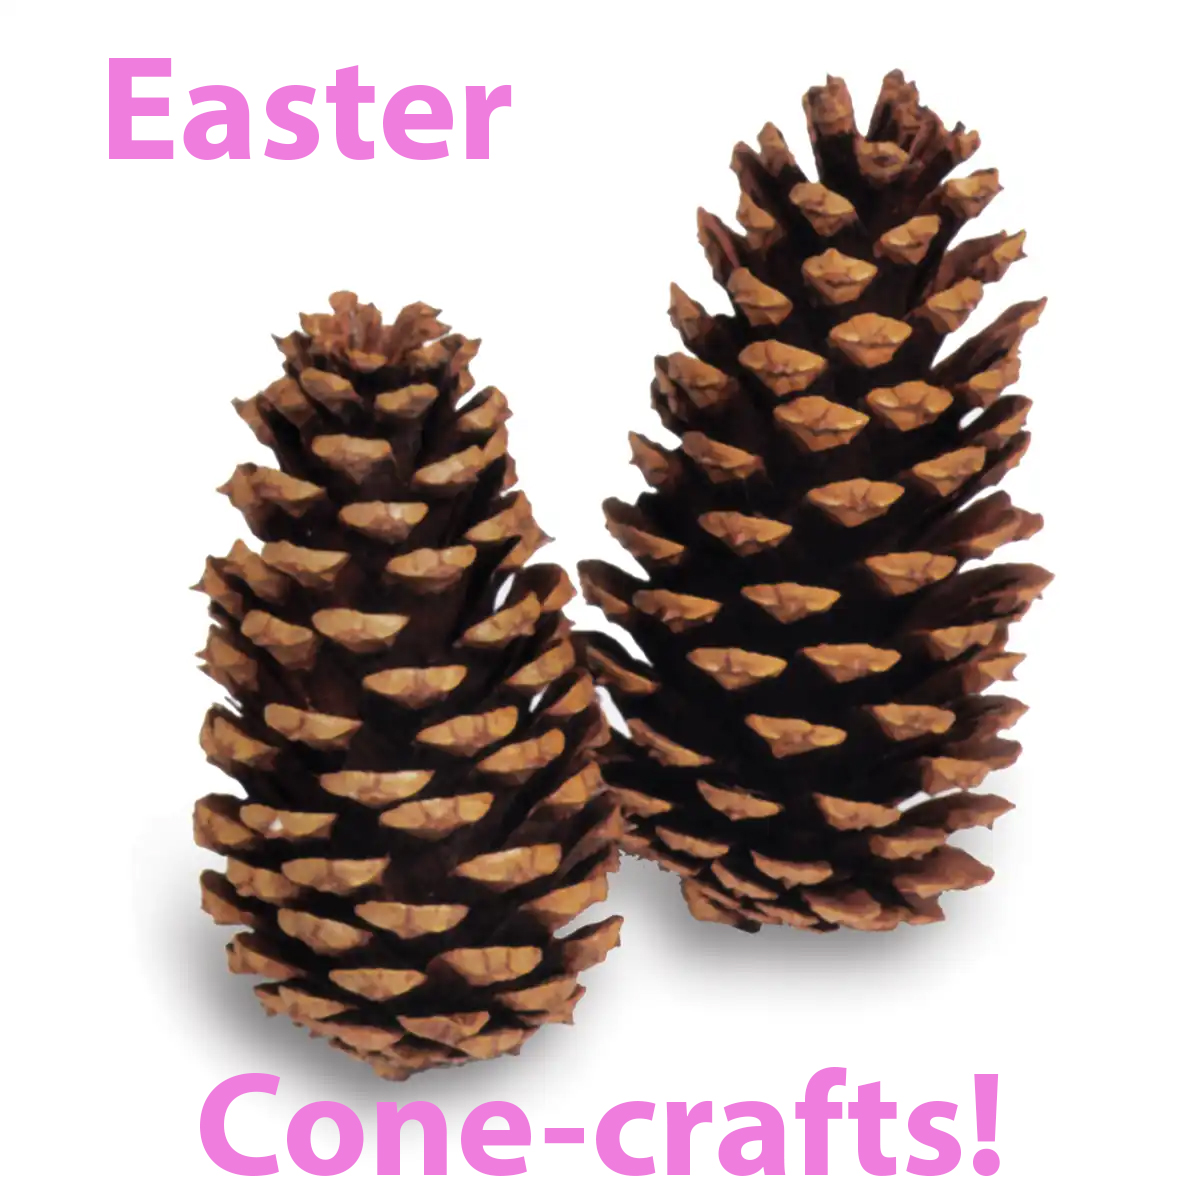
We hope you kept some pinecones after gathering them for our winter holiday cone-craft extravaganza, because this week we’ve got some fun-tastic Easter Cone-crafting ideas for you.
Pinecone Flowers
Materials
- pinecones
- brightly colored acrylic craft paint
- Two flat paint brushes, one small, one large
Paint your pinecone a bright color, be sure to paint in between the “petals” and underneath each. Let dry.
You can arrange your finished flowers in a variety of ways. You can make a bouquet out of them or arrange them on a wreath. If you want to have individual flowers on a stand of “leaves” here are stand instructions:

How to make paper stands:
Materials
- Green cardstock
- Scissors
- Clear tape
Cut strips of the cardstock 6-inches by 2-inches (or size need to fit your individual flowers).
With scissors, cut out leaf shapes from the top of half of the strip. Loop in a circle and secure with clear tape. Fold down the tops of the leaves. Rest the pinecone in the stand.
For a tall bouquet of pinecone flowers you will need:
- Pinecones – long narrow ones for a lupine-type bouquet, mixed shapes and sizes for a “mixed bloom” bouquet, etc.
- Wooden skewers
- Acrylic craft paint – any color!
- Glue – Hot glue and Mod Podge
- Some sort of vase or container (ribbon optional)
Instructions
Paint cones as above in the first set of instructions.
You can also paint the skewers or leave them au natural.
Hot glue a skewer to the base of each cone and arrange in a vase with faux foliage.

Bunnies! Bunnies! Bunnies!
Pinecone bunny options are practically endless.
Supplies (basics – pick and choose depending on you preferred bunny style)
- Pinecones
- Big seed pods
- Felt
- Craft foam
- Construction paper
- Acrylic paint
- Flat brushes
- Pompoms
- Wooden beads
- Googly eyes
- Pipe cleaners
- Long pine needles (such as ponderosa)
- Craft twine
- Hot glue
Instructions
For a basic “bunny bum” simply hot clue a pompom to the base of a cone, cut ears (from felt, paper, foam, etc.) and glue them to the front. You can paint the cones for colorful bunny bums or leave them au natural.
For a bunny face first decide if you want to paint the cone, if yes paint using a flat brush, making sure to get all the nooks and crannies. Let dry. Then glue whiskers on the base of the cone (use pine needles, twine, pipe cleaners, or whatever else you’d like) then glue a pompom or bead on top for the nose.
Cut outer and inner ear pieces from felt, foam, etic and glue them in place.
Glue on googly eyes or make your own eyes from felt or foam.
For a tall double-stack bunny – again decide if you want to paint your cones first. If yes, paint and let dry.
Next, glue the smaller cone on top of the larger cone, bases forward as the bunny’s front.
Decorate as with the basic bunny using felt, paper or foam, beads or googly eyes and twine or pipe cleaners for whiskers. You can’t beat little pompoms for bunny feet!
For a more rustic bunny – stack and glue cones vertically (vs. base out as with double-stack bun).
Use your large seed pods (or big leaf maple “wings” or sturdy dried leaves, or, or, or!) as ears. Quick and easy!
Bunnies need carrots
You will need:
- Elongated cones such as Western White Pinecones
- Acrylic paint
- Flat brushes of various sizes
- Green raffia, pipe cleaners, yarn or fabric for carrot tops
- Hot glue
Instructions:
Paint your cones with acrylic paint. You can go “basic orange” or celebrate carrot varieties with white, yellow, purple and pink paint.
You can do a thorough job of painting, getting those nooks and crannies, or do more of a wash for a more rustic look.
Let dry.
Creating the carrots’ tops is where you can really get creative. You can use any of the materials we recommended above – hot glue them to base of cone – or come up with your own crafty idea.
You can give a carrot to each individual bunny or group them together for a festive hanging decoration or even make a carrot wreath. You do you!
Super Cute Chicks
You will need:
- Acrylic paint
- Pompoms or small Styrofoam balls
- Felt, craft foam, construction paper
- Googly eyes, beads
- Hot glue
Instructions
Paint small cones “downy yellow” or if you’re feeling extra creative paint them the colors of some of our backyard chicken chicks. Again, get the nooks and crannies using your various sized brushes.
Let dry.
Either glue on a yellow pompom for a teeny head, or a large craft bead or foam ball (the latter two may need to be painted and dried first depending on what supplies you find).
Use felt, foam or construction paper – cut their teeny feet and beaks and baby wings if you’d like. Glue those on with hot glue.
Hot glue on googly eyes, beads or cut-out (from felt, etc.) eyes and your floofy chicks are ready to bring some whimsy to the holiday.
As always if you make any or all of these fun pinecone crafts, send us photos of your finished product, we’d love to share on our Pic ‘n Bits page!
Email photos to: [email protected]